Hello and happy sunny day here in Missouri! I am prepping this post on a very sunny Tuesday and I love love love to see the sunshine! I have been clearing up the mess on my desk and finishing up projects. I also had a stack of tests/quizzes to grade for both of my students. My treat, after finishing up school paperwork, was to stamp up the rest of the Grown With Kindness Paper Pumpkin kit. I hope that you enjoy! I watched quite a few YouTube videos for my inspiration. Some of the cards are mine and some are from the videos.
Check out my original post from last week to see the cards that were recommended.
Happy stamping!
Stef
Friday, March 22, 2019
Monday, March 18, 2019
Well Said Friend Card
Hello and happy stamping! This is a cute card that I CASED from this website. Tips for this card...use more than one dimensional under the cute stitched squares! LOL! If you would like a tutorial click here!
Happy stamping!
Stef
Happy stamping!
Stef
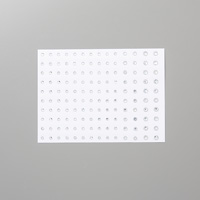 |
| Basic Clear Rhinestones |
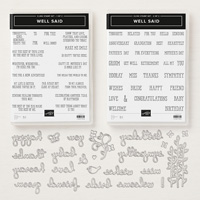 |
| Well Said Bundle |
 |
| Stitched Shapes framelit dies |
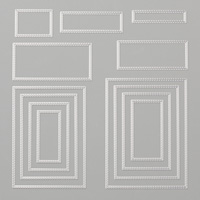 |
| Rectangle Stitched Framelit Dies |
Saturday, March 16, 2019
Friday, March 15, 2019
Painted Season Card
Hello! I snagged this inspiration from one of my favorite blogs. Click here. Her photo is sooo much nicer than mine is. I plan to tinker with pictures this summer so that I can have nicer pics for the future.
Enjoy!
Stef
Enjoy!
Stef
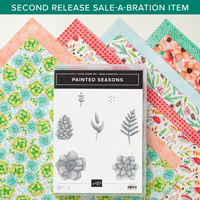 |
| Painted Seasons bundle-free with a $100 purchase |
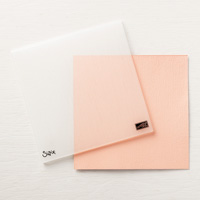 |
| Subtle Dynamic Texture Embossing folder |
 |
| Stitched Shapes framelits |
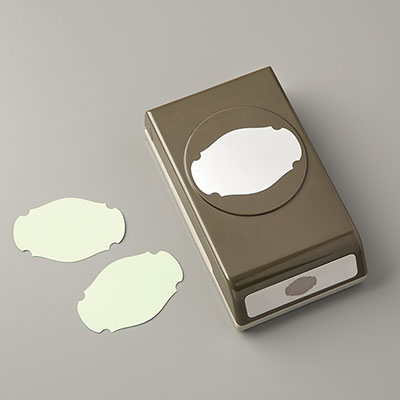 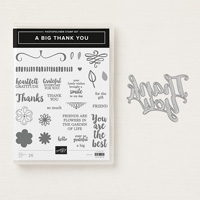 |
| Story Label Punch and A Big Thank you |
Wednesday, March 13, 2019
Paper Pumpkin Grown With Kindness
I love it when I get little boxes of happiness in my mailbox! Usually there is a plethora of junk mail and bills. My kids tease me as I go dancing through the house with my new box. I have a strict DO NOT OPEN until ready to stamp policy. One of my children will not let me use the cute little ink squares (hence you will not see the Fresh Fig ink in square in any pictures today); she has fun creating a stack of the little squares in my stamping cupboard. The next time I post I will try to take a picture of my stack. She is a hoot!
Enjoy and click here if you want to check out the fun!
Happy Stamping!
Stef
Enjoy and click here if you want to check out the fun!
Happy Stamping!
Stef
 |
| Each box has one stamp set and ink pad. It also has all of the supplies (ribbon, embellishments, adhesive) as well as pre-cut paper supplies for your projects! |
 |
| All of the goodies inside of the box, except the ink square, of course! |
Monday, March 11, 2019
Eeek Birthday Card
Paula's sis, Brenda made this cute birthday card for me. It is kind of a spin off of Halloween but it made me laugh. Yes, I did say "EEEK!" when I realized how old I was going to be last year. This year I will not think about it at all!
Happy stamping!
Stef
Happy stamping!
Stef
Saturday, March 9, 2019
Cling Mount stamps
Note: Once you place the label on the stamp, it is adhered permanently. Attempting to remove or adjust the label will damage the stamp’s foam.
- Remove the paper backing from the label.
- Remove your selected stamp from the rubber sheet and remove the paper backing from the stamp.
- Line up the foam side of the stamp with the image label, then press it evenly to adhere it to the label. Make sure it is correctly positioned before you adhere it to the stamp.
- Remove the stamp and its newly-affixed image label from the label sheet.
- Place the stamp on an acrylic block to begin stamping.
Best Practices
To remove the stamp from the block, grasp securely near the image label and remove slowly. (Cling stamps stick so well that if they are not carefully removed from the block, the foam can tear.) To clean the labels, simply rinse under running water. Avoid alcohol-based cleaners.
To remove the stamp from the block, grasp securely near the image label and remove slowly. (Cling stamps stick so well that if they are not carefully removed from the block, the foam can tear.) To clean the labels, simply rinse under running water. Avoid alcohol-based cleaners.
| I typically do not put the stickers on the backs of my rubber any more. Why? I am so glad that you asked! Usually the sticker does not adhere to the clear block and my stamp ends up falling off of the block mid-stamp. It annoys the fire out of me. LOL! I have gotten into the habit of just stuffing the sheet of stickers into the case and going on my merry way! No more! SU heard our prayers and now has "cling stamps". The sticker sheets are lovely and sticky so that they cling to the block with ease. As a matter of fact, they are a bit of work to pull them off of the block. My new favorites are the cling mount and the photopolymer stamps now. I love the prices on the photopolymer but I love the traditional flare to the cling mount. I have to admit that I will be on the look out for the new cling mount stamps when I purchase stamp sets in the future. |
Click here to see a great video about this new product!
Happy stamping!
Stef
Friday, March 8, 2019
Birthday card
Yes, my birthday is in the fall and yes, I am soooo behind in posting my cards. LOL! Here is a clever card from my downline, Paula. She embossed all of the flowers and had two rows of them! I love this card!
Happy stamping!
Stef
Wednesday, March 6, 2019
Happy snow week!
In honor of our late spring here is a snowman card for you! It was in my stack of older cards that I had not posted...I think! LOL! I used markers and the Wink of Stella on the snowman image.
Happy stamping!
Stef
Happy stamping!
Stef
Tuesday, March 5, 2019
Monday, March 4, 2019
Thank you Card
Last month Paula prepped this cute card at club. With all of the illnesses in our family I am finally tackling the pile of "to post" cards. I love the metallic DSP!
Happy stamping!
Stef
Subscribe to:
Comments (Atom)


