Showing posts with label Bigz L Fun Flowers die. Show all posts

Monday, July 30, 2012

Layered and Textured

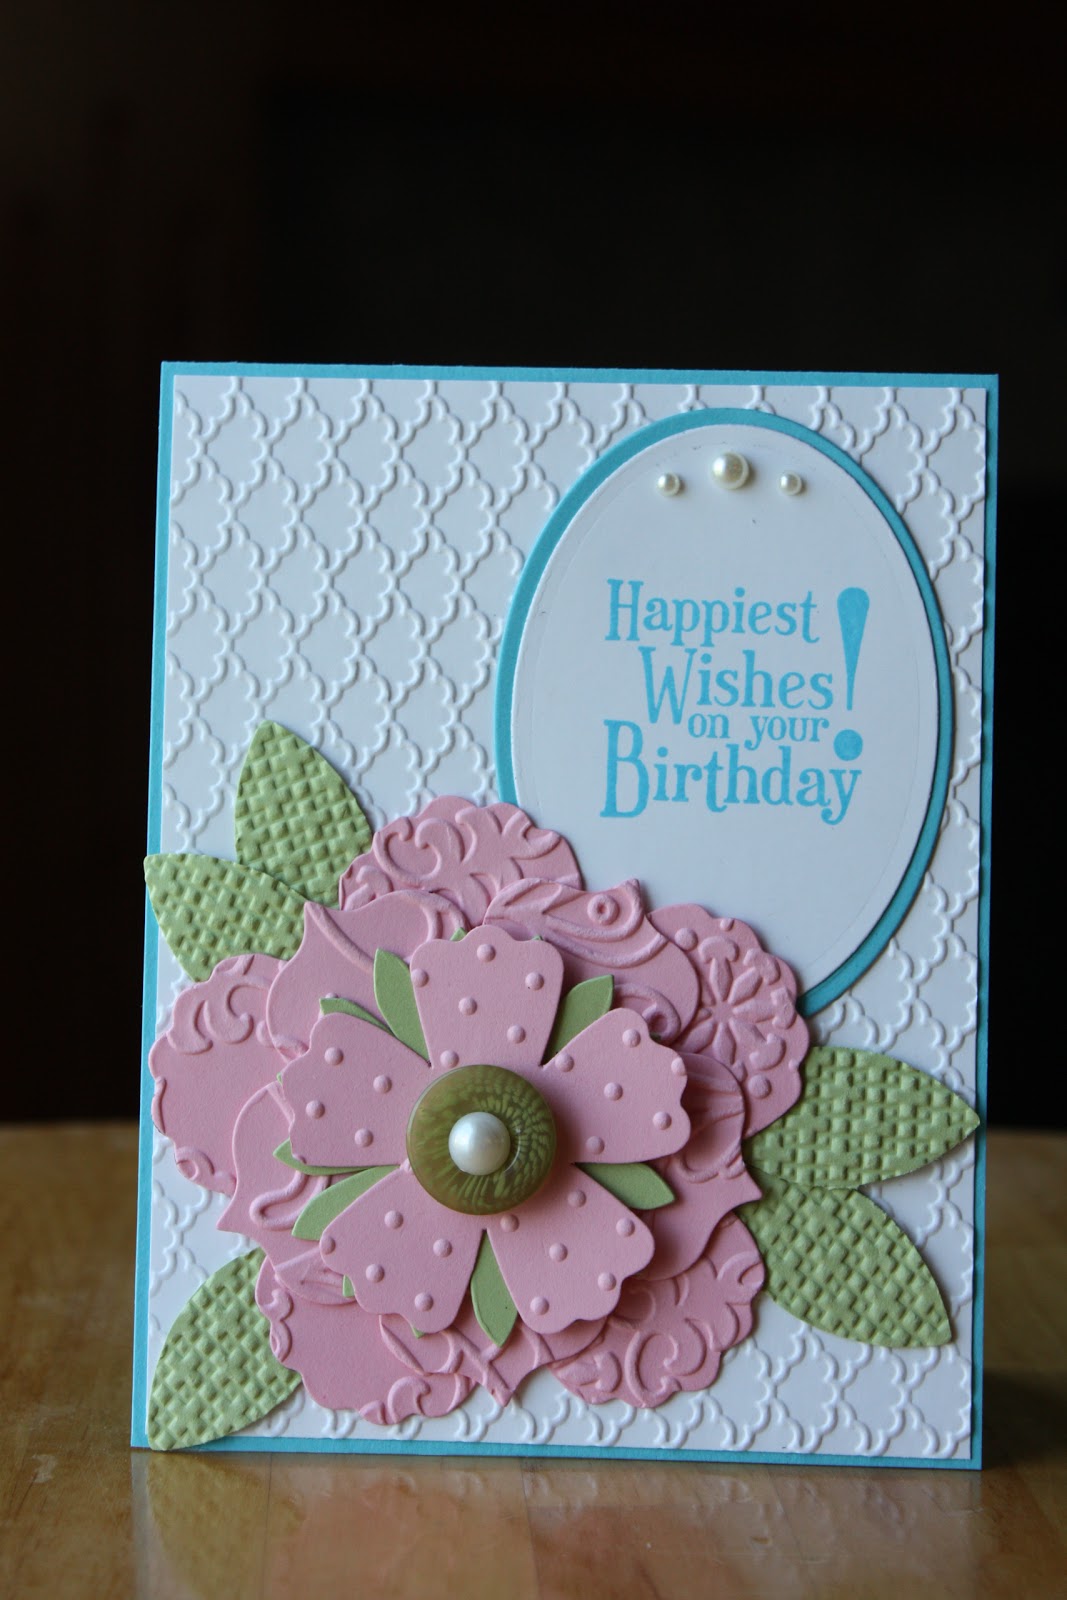
My friend and neighbor has just had a birthday.  I made her a card, but haven't been able to give it to her yet.  I don't think she will be checking this blog before I am able to give it to her; it should be safe to share it.  (-:


This was cased (with a few changes--softer colors, orientation, a different embossing folder) from a card by Sandi MacIver (May of this year).  Her card is beautiful.  I used the new Fancy Fan embossing folder which I just received and already really like.  (Embossing folders are what drew me to a Big Shot.)  It also uses the Fun Flowers Bigz die.


The card is really bulky with all those embossed layers, but it will be hand delivered....

Hope you get some crafting time today...Julie

Sunday, March 11, 2012

Tea Light box with Fun Flowers Die

 1.  Score the 5x6 box cover at 5/8", 2 1/4", 2 7/8", & 4 1/2". Your score lines should be 6" long.
 2.  Score the 3 3/4 x 8 box.  The long score lines are scored at 1/2, 1 1/8, 2 5/8, 3 1/4".  The short lines are scored at 1/2, 1 1/8, 7 1/8, 7 3/4".

 3.  Cut out the corners as shown to make the flaps.  Add sticky strip according to picture below.
 4.  Fold over flaps to create box.
 5.  Adhere sticky strip to one end (widest end) and wrap the lid around the box.  Peel back off sticky strip and press.  Stamp Mixed Flowers stamp with Wisteria Wonder on a 1 1/2 x 5 1/2" strip; mount on lid.

 6.  Sponge all three flowers and two centers with Wisteria Wonder.  Curl edges with a bone folder and then stack flowers with adhesive.  Stack centers and adhere with an In Color brad.  Adhere centers to flowers with a dimensional. 

 7.  Stamp flowers on tissue paper and then lightly adhere corners (not flowers) to scrap paper.  Punch out the flowers with a circle punch.  Punch a small hole in the center for the wick of the tea light.  You MUST punch with the scrap paper behind the tissue paper or it won't work.
 8.  Insert the wick through the small hole and ensure that the wick is standing up so it won't melt onto the candle.  Heat the candle until the tissue paper is "hidden" under the wax and the wax looks wet. 

Colors:
Whisper White
Wisteria Wonder (or Pool Party)

Stamp Sets:
Mixed Flowers (Occasions mini catalog)

Supplies:
Heat tool
Tea lights
In Color Brads
Simply Scored tool
Circle punch, 1 1/4" and hand held small circle
Ruffled Ribbon, Pool Party or Wisteria Wonder
Dimensionals,
Snail
Sticky Strip
Sponges
Big Shot
Fun Flowers Die

Happy Stamping!
Stefanie

Friday, February 17, 2012

Mixed Bunch Tea Light Box

I am thrilled that Julie is posting now and that you will be able to get to know her.  We have had lots of fun and lots of escapades through the years.  LOL!

Last fall I went to a Stamp Fest in Iowa; Jen Higginbotham did an amazing job with it.  Jen had us make these cute tea light boxes and I loved them.  This week I made a few changes to the design (not all Walmart tea lights are the same size...Waz' up with dat?) and liked the end result.  I will most likely add a tag because it just seems like it needs a little something to balance the top.

Stampin' Up! supplies:
Baja Breeze Cardstock, Classic Ink, In Color Brads, and Ruffled Ribbon
Big Shot and Cutting Pads
Bigz L Fun Flowers Die
Crop-a-dile (for hole)
Sticky Strip (a must for keeping the box together)
Sponges
Heat Tool

Non-Stampin' Up! supplies (gasp):
Tissue Paper
Tea lights


Have a fun weekend full of stamping adventures! 
Stefanie