 |
| Click here to see a great video |

Tuesday, March 31, 2020

Monday, March 30, 2020
Love Story Card from Julie with Tropical Blossoms


Don't forget to check out Sale-a-bration! It is almost done! The last day to participate is March 31!
Happy stamping!
Stef
Sunday, March 29, 2020
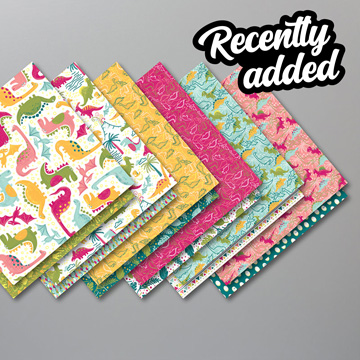
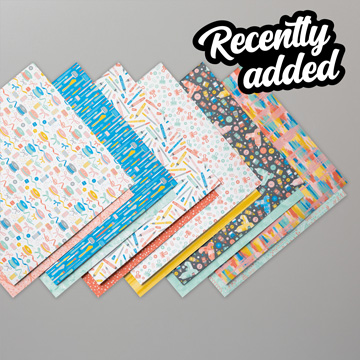
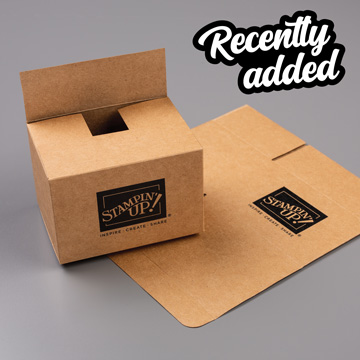
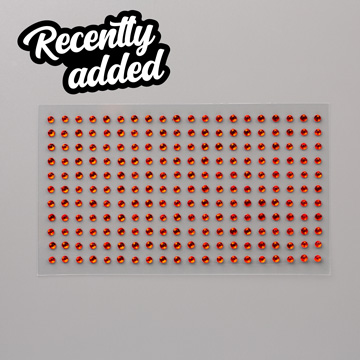
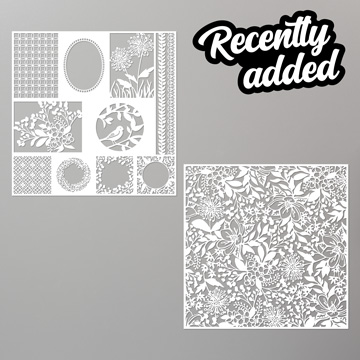
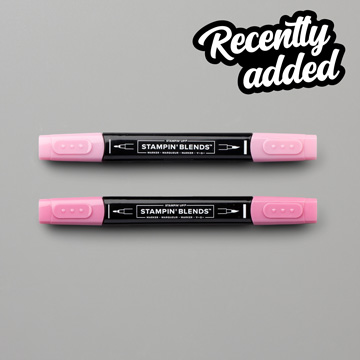
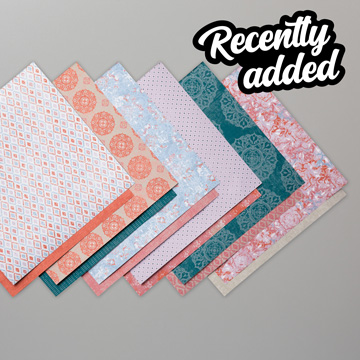
Sale-a-bration Third Release
 |
| Click here to see the pdf! |
Happy stamping!
Stef
 |
|
Price: $0.00
|
 |
|
Price: $0.00
|
 |
|
Price: $0.00
|
 |
|
Price: $0.00
|
 |
|
Price: $0.00
|
 |
|
Price: $0.00
|
 |
|
Price: $0.00
|
 |
|
Price: $0.00
|
 |
|
Price: $0.00
|
Friday, February 21, 2020
Pop Up Panel Lovely Lily Pad Card
 |
| Click here to see my inspiration card |

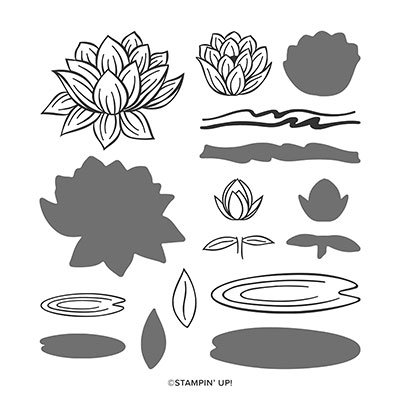
Stamps: Lovely Lily Pad (free SAB stamp set) and
Peaceful Moments stamps
Colors: Crushed Curry, Lovely Lipstick, Coastal
Cabana, Whisper White
Supplies: Big Shot, Lily pad dies (free after a $100
purchase), dimensionals, Metallic Bakers twine and sequins combo pack (SAB no
longer available), glue dots, dimensionals, snail adhesive, sponges, white embossing
powder, heat tool, embossing buddy, Versamark ink, scoring tool, miracle tape,
Word Window punch
Directions:
·
Stamp two lilies in Lipstick ink on Lipstick CS. Stamp one lily pad in Coastal ink on Coastal
CS. Cut out with dies.
·
Stamp the birthday sentiment on the smallest
white CS. Mount onto layer of Coastal.
·
Attach the lily pad and flowers onto next small
white CS; use dimensionals. Mount onto
the Coastal CS layer.
·
Rub the embossing buddy over white background. Stamp lily
with Versamark ink. Immediately sprinkle
on white powder. Emboss with heat tool.
·
Use sponges to cover the entire embossed
CS. Mount on Lipstick layer. Use the punch to cut a slot in the front of
the CS; punch as close to the center as possible.
·
Score the 1 ½ by 8” strip at 2” and 2 ½’.
·
Attach the rectangles with Miracle tape. The smallest rectangle will butt up against
the shortest fold line. The large one
will butt up against the next fold line. Trim the excess CS under the small
rectangle.
·
Use MT to adhere the card front to the Curry base. DO NOT put MT along the entire bottom of the
card or your strip will not slide.
·
Insert the strip through the slot. You may need to trim this end of the strip as
well. I used the word window to cut a
slot on the front layer.
·
Attach string and sequins with glue dots.
·
Center the pop ups and use a small strip of MT
along the bottom of the smallest rectangle.
Thursday, February 20, 2020
Happy Birthday to You Sale-a-bration card

Happy Birthday Card
Stamps: Happy Birthday To You (free SAB stamp set)
Colors: Calypso Coral, Wisper White, Petal Pink,
Momento Black
Supplies: Big Shot, Mosaic 3D folder, Calypso bakers
string, alcohol markers (Old Olive, Calypso Coral, Balmy Blue), glue dots,
dimensionals, snail adhesive
Directions:
·
Emboss the Petal CS with the Mosaic folder. Use the silicone pad, a cutting pad and no
tabs on the platform.
·
Stamp the cake in black ink. Stamp the sentiment in Coral ink. Color BEFORE adhering to the layers.
·
Use snail adhesive to attach the embossed pink CS
to the card base.
·
Adhere the cake CS to the larger layer with
snail adheisive; use dimensionals to attach both to the card front.
·
Attach the string (in a bow) to the front of the
cake; use glue dots.
Subscribe to:
Posts (Atom)