Showing posts with label sponges. Show all posts

Wednesday, April 17, 2019

Flowering Desert

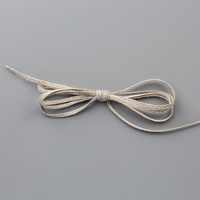
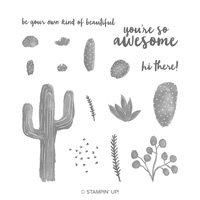
Check out my pinterest board for more fun ideas.  The inspiration card is there on my board for the Flowering Desert stamp set.  I fell in love with this stamp set when I started to see the gorgeous samples online.  This particular card has fabulous colors (Grapefruit, Crumb Cake, Calypso Coral, Vanilla and Espresso Brown).  The sponging really adds to the wow factor.  Add a touch of a rougher style ribbon and it is the recipe for success!

Colors: Grapefruit Grove, Very Vanilla, Lovely Lipstick, Crumb Cake, Early Espresso

Stamps:  Flowering Desert

Supplies:  sponges, blocks or Stamparatus,

Happy stamping!
Stef

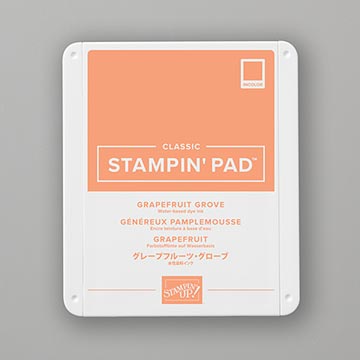
Grapefruit Grove Classic Stampin' Pad
Grapefruit Grove
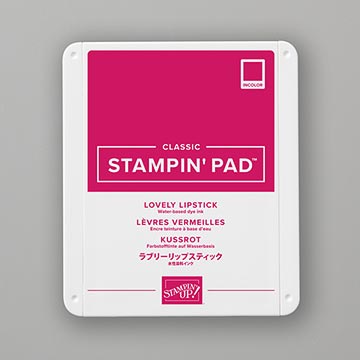
hot pink ink pad
Lovely Lipstick
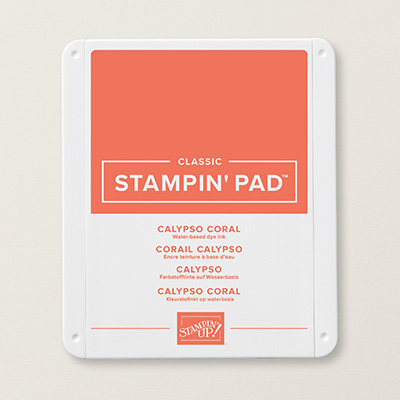
coral ink pad
Calypso Coral
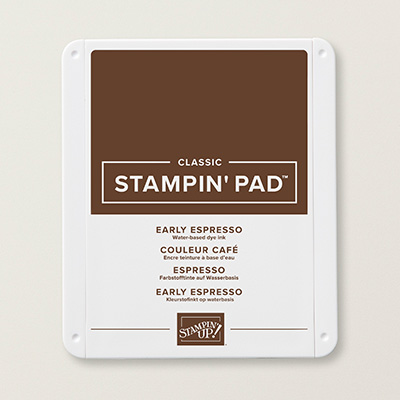
brown ink pad
Early Espresso
rustic linen ribbon
Braided linen trim
cactus desert stamp set
Flowering Desert Photopolymer stamp set
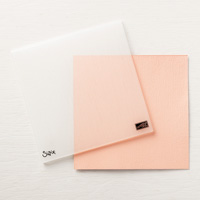
dynamic folder
Subtle Dynamic Textured Impressions Embossing Folder

Monday, September 17, 2018

Sheltering Tree Reflection Card

Click here to see my YouTube inspiration card

THINKING OF YOU CARD
Stamps:
  Sheltering Tree set
Colors:  Pool Party, Pumpkin Pie, Early Espresso, Old Olive, and Whisper White
Supplies:  Sponges, paper snips, window sheet, dimensionals, and snail adhesive
Directions:
·       Lay a strip of cardstock down about ¾ of the way on the card; this is your mask. 
·       Sponge in green above the mask for the grass.  Remove the mask and sponge in Espresso (above and below the water line).  Sponge Pool Party darker in the sky and softer in the water.
·       Stamp the tree in Espresso and then again on the window sheet.  Press the window sheet down onto the water; this will transfer most of the ink.  Use a baby wipe to clean the window sheet.
·       Stamp the leaves in Pumpkin ink…twice.  Stamp the Pumpkin ink onto the window sheet.  Press the window sheet ink side down onto the card base.  Clean the window sheet.
·       Stamp the sentiment onto the white strip.  Snip ends to make a banner.  Adhere with dimensionals.
·       Adhere the layers.

Tuesday, November 14, 2017

Hearts Come Home Club project

Hello!  I have been busy with Stamp Camp and prepping Christmas cards.  Sponging just looks fabulous with this stamp set!  I CASED this card from Michelle Zindorg.


Stamps:  Hearts Come Home
Colors:  Marina Mist, Whisper White, Basic Black, Dapper Denim
Supplies:  Gold ribbon, sponges, post it note,  adhesive, blocks, 1” circle punch, Year of Cheer Specialty paper, white gel pen
Directions:
·         Punch out a circle in a post it note. Adhere to the white card front.
·         Sponge Marina Mist all over the top ¾ top of the CS.  Highlight by sponging in Dapper Denim.  Remove circle.
·         With black ink stamp the Santa and the houses.
·         Adhere the DSP to the Marina Mist CS and wrap around the ribbon. Adhere to card front.
·         Adhere the stamped card front to the Dapper Denim and adhere to the card base with dimensionals.
      Add white dots behind the sleigh with a white gel pen.


Wednesday, October 25, 2017

Night in Bethlehem Club Project #1

Hello!  Here is the first card for club this month.  Check back tomorrow for another card featuring the Night in Bethlehem stamp set.

I did CASE this card from a google pic online saved on Pinterest so check out my Pinterest board.

Happy stamping!
Stef


Rejoicing Card
Stamps:  Night in Bethlehem Bundle
Colors:  Bermuda Bay, Pool Party, Soft Suede, Night of Navy, Whisper White
Supplies:  Versamark pad, silver embossing powder, heat tool, cutting tool, embossing buddy, sponge rollers, ruler, pencil
Instructions: 
·         On the white 4 ¼ x 5 ½” CS mark with a pencil at 1” and 3” from the top.  Mark 1” in from both sides.  Use a paper trimmer to cut out the window.
·         Lay the window over the card front and roll the sponge in Pool Party over the entire space.  Next roll Bermuda Bay on the top down to middle of window.
·         Remove the window frame.  Ink up the village in Soft Suede and stamp off on scratch paper before stamping on sponged area.  (Line bottom of village up with the bottom of sponged area.)
·         Rub the embossing buddy over card area where you intend to stamp the large star.  With Versamark stamp the star and emboss with silver powder.
·         With Navy ink stamp the donkey stamp, sentiment and small stars.

Thursday, September 25, 2014

Fall Blendabilities Card Truly Grateful

Hello and happy Thursday!  It is another favorite day in the Nichols household...grocery day!  I love to see what fabulous deals I can get when I pair coupons and sales.  I am always bummed when it is a sad ad day and there are not many deals.  LOL!

This is the card that the Blendabilites club will be creating this week.

Happy stamping!
Stef

Stamps:
Truly Grateful

Colors:
Daffodil Delight
Creamy Caramel (base)
Chocolate Chip
Whisper White
Black Memento ink pad

Goodies:
Big Shot...of course!!
Woodgrain embossing folder
Blendabilites in Creamy Caramel and Daffodil Delight
Ribbon, Daffodil Delight
Dimensionals
Sponges