Showing posts with label Whisper White. Show all posts

Monday, May 25, 2020

Paula's Cards for club


Pumpkin Pie and Crumb Cake with the Back on Your Feet Cling set


Whisper White and Crushed Curry
Colors:  Old Olive and Crushed Curry with the Back on Your Feet Cling Set
I apologize for the quality of the pictures but I was not able to get over to borrow the cards.  I have been having fun with my light box and it helps with great pictures.

BACK ON YOUR FEET CLING STAMP SET
Back on Your Feet cling set click here
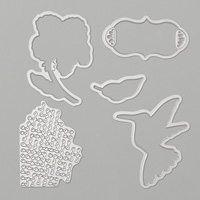
Hummingbird Framelits Dies
Hummingbird dies  Click here to see them on the clearance rack
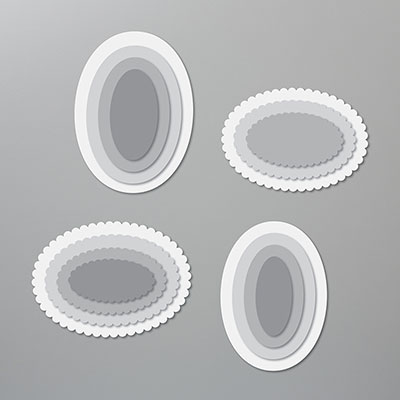
LAYERING OVALS DIES
Layering oval dies  Click here to see them

Friday, May 22, 2020

My Wonderful Family Paper Pumpkin kit


Hello!  This is the Paper Pumpkin kit for April of 2020; the name is My Wonderful Family.  I had a blast assembling the card kits for everyone in club and hope that my cards inspire my club members to "think outside of the Paper Pumpkin box"!  LOL!  For everyone in my club who sends a picture of their finished card they will get their name in the drawing to win a prize.  They will either get the new Pear Pizzazz stampin' spot/stamp set from the kit OR they will get the Ladybug hostess stamp set from the SAB catalog.  I hope that lots of cards come rolling in because I can't wait to share some inspiration with you!

Happy stamping!
Stef

Thursday, October 17, 2019

Painted Harvest Thanks Swing Card


I had inspiration on many fronts with this card.  Check out this great tutorial on YouTube for the swing instructions.  Mary Fish was my inspiration for the color scheme based on this card. 

I hope that you are inspired!

Happy stamping!
Stef

Friday, September 20, 2019

Come Gather card

Hello!  This week I have had time to stamp and to update my blog.  I usually find one week to stamp and then I get caught up in teaching school.  LOL!

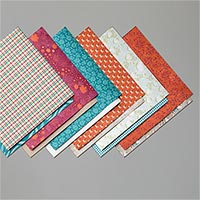
I love the colors on this double pocket card...Mint Macaron, Cajun Craze, and Early Espresso were my colors of choice.  You can also use Pretty Peacock, Merry Merlot, and Pear Pizzas based on the colors in the DSP.

Click here to see my inspiration card!

Happy stamping!
Stef
COME TO GATHER SUITE BUNDLE (EN)
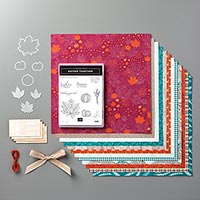
Come Gather Together Suite Bundle
COME TO GATHER RIBBON COMBO PACK
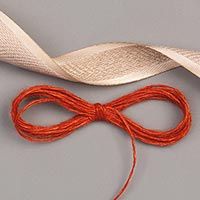
Come Gather Together ribbon bundle
COME TO GATHER DESIGNER SERIES PAPER
Come Gather Together DSP

Wednesday, July 17, 2019

Sailing Home Buckle Card


Click here to see my inspiration card and a Youtube tutorial.

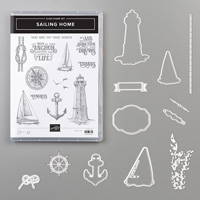
Stamps:  Sailing Home stamp set
Colors:  Soft Suede, Whisper White, Night of Navy
Supplies:  Classic Label punch (for buckle hole), Scoring tool, Come Sail Away DSP, Epoxy dots, dimensionals, Smooth Sailing dies, Big Shot

Happy stamping !
Stef

Tuesday, July 16, 2019

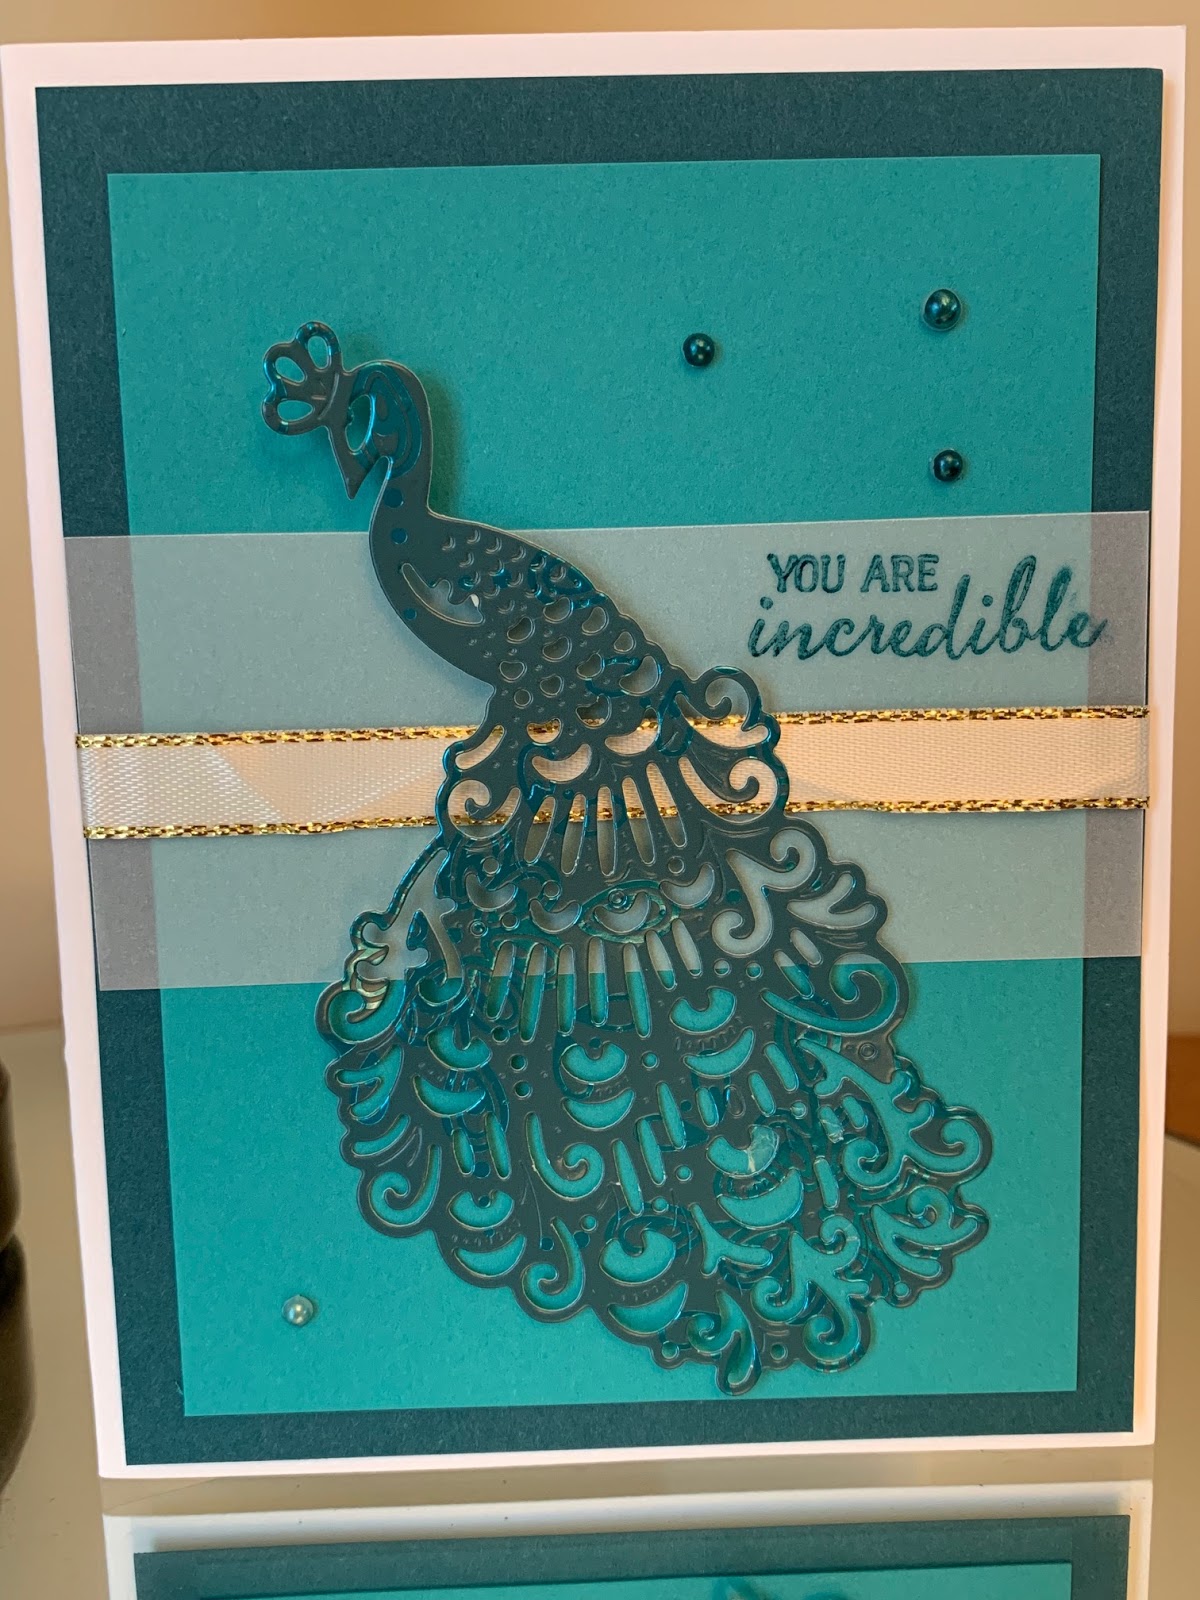
Noble Peacock Suite card

Click here to see the fabulous card that I CASED.  


Noble Peacock Card
Stamps:  Royal Peacock stamp set
Colors:  Bermuda Bay, Pretty Peacock, Whisper White, Vellum
Supplies:  Big Shot, Peacock detailed dies, gold ribbon, Noble Peacock Specialty Designer series paper, pearls, Stampin’ Blends in Peacock, dimensionals, Snail
·       Use the DSP to cut out the peacock and remove chads.
·       Layer the top two sheets of cardstock.  Adhere the ribbon onto the front.  Use dimensionals to mount onto white card base.
·       Color the pearls or rhinestones with the Blends.
·       Use a tiny dimensional to adhere the peacock. 


Thursday, April 18, 2019

Sympathy Card

Unfortunately we all have reason to use sympathy cards in our lives.  Why not send a gorgeous one?  This card also looks great as a wedding card (obviously use a different framelit...LOL!). Click here to see my inspiration card.

Stamps:  none
Colors:  Whisper White and gold
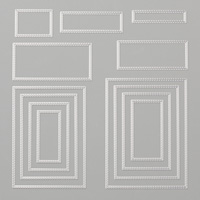
Supplies:  Well Written framelits, gold foil paper, Country Floral embossing folder, adhesive, vellum, rhinestones

Happy stamping!
Stef

gold sheets
Gold foil
white paper
Whisper White Cardstock
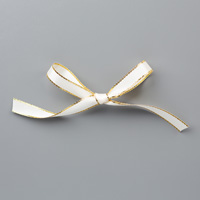
white 3/8 ribbon gold trim
Gold 3/8" (1 Cm) Metallic-Edge Ribbon
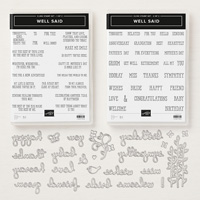
Well Said Cling Bundle
Well Said Bundle (Well Written framelits included)

Monday, March 18, 2019

Tuesday, March 27, 2018

Celebrate Curtain Fold Card for club


This week is standardized testing week at our house so all of the phones are busy so that teens can participate in the teleconference call for the testing.  That being said, please forgive my original photo.  My daughter was scandalized at the quality but I had to use my tablet for the pic.  I had to beg for the use of the bonus room because all of my goodies are in here!  LOL! 

I got my directions here.

Colors:  Whisper White, Flirty Flamingo, Crushed Curry
Stamps:  None (gasp)
Supplies:  Pick a Pattern DSP, Big Shot, Celebrate You thinlits (free during SAB), Whisper White ribbon, Simply Scored, bone folder, fine tip glue pen, snail adhesive, glue dots, paper trimmer, and Layered Leaves folder

Cut your 12x12 DSP down to 11 1/2 x 12 and then cut into 4x11 1/2".
To diagonally cut each 4" strip down the center, mark the top left corner (4" end) 1" to the right from the end.
Mark the bottom left corner at 1" from the end and to the left.
Line up the paper trimmer to the marks and cut.
Score at 1", 2 1/2", 3 1/4", 4 3/4", 5 3/4", 7 1/4", 8", 9 1/2", 10 1/4"
Accordian fold the DSP; adhere so that the folds stay closed.

Thursday, December 14, 2017

You Move Me Fancy Fold Card for Club


Hello!  I woke up at 6 am and booted my son out of the bonus room where he was doing school.  Yes, I am a terrible mom!  LOL!  I should be rejoicing that my son is so motivated but club is tomorrow and I need to keep my momentum!

My CASED project is here.

Happy stamping!
Stef

Birthday Card
Stamps:  You Move Me bundle, Butterfly Basics
Colors:  Lemon Lime Twist, Basic Black, and Whisper White
Supplies:  Glitter, Embossing Paste, Paste tools, Decorative Masks, Dimenionsionals, Rhinestones, Circle Framelits, Big Shot
⦁    Score the Lemon LIme 5 1/2 x 10 1/2 at 2 3/4 and 7". 
⦁    On the 2 1/2 x 5 1/4 Lemon CS use the embossing paste and mask.  Once finished sprinkle with glitter and tap off.
⦁    Cut two solid Lime butterflies and two detailed black butterflies (see directions above).
⦁    Stamp the sentiment in black ink on the white scrap and then cut out with smallest circle.  Cut out the other circles (glitter is the largest).
⦁    Assemble card parts.


Wednesday, December 13, 2017

You Move Me Club project

This card pic is not that great and I will try to update it later.  I love the You Move Me bundle because it creates a 3D project with animation.  As you pull the tab the butterfly looks like it is flying!  Very cool!

I am working on all of my club projects as well as quizzing kids for homeschool.  AND...we are heading to town at some point to go get pics at the park for Christmas cards.  Busy, busy, busy!

Happy stamping!
Stef

 You Move Me Butterfly Card
Colors:  Fresh Fig, Sahara Sand, Whisper White
Stamps:  You Move Me Bundle
Supplies:  Fresh Fig ribbon, Stapler, pearls, Big Shot, sponge, 1" circle punch, dimensionals
⦁    Stamp the butterfly (bold stamp off and detail) in Fresh Fig and cut out with dies. Stamp the "Hi" in Sahara Sand ink and punch out with circle punch.  Cut out the Fresh Fig detailed butterfly and snip in half.
⦁    Stamp the big butterfly in Fig ink on the white strip and then stamp the smaller one (stamp off first) over top of the big one.  Match up the head and tail; stamp so that you can't see the previously stamped lines.
⦁    Use the magnetic cutting pad, precision plate and one cutting pad to cut out the window.  CUT WITH SHARP EDGES FACING UP ONTO PAPER AND CUTTING PAD.
⦁    Assemble Card

Thursday, October 26, 2017

Night in Bethlehem Card #2 for club

I love the colors in this card!  I CASED it from Mary Fish here.

Happy stamping!
Stef


Starry Night Card
Stamps:  Night in Bethlehem Bundle
Colors:  Island Indigo, Basic Black, Whisper White
Supplies:  Big Shot, Bethlehem Edgelit dies, 2” circle punch, dimensionals, Snail
Instructions: 
·         Stamp the stars across the top of the black CS in white ink.
·         Stamp the sentiment in black ink on the Island Indigo CS and then punch.
·         Cut out the village in Whisper White with the Edgelit dies.
·         Adhere the moon and then the background village with Snail.
·         Adhere the front scene of the village with dimensionals.


Monday, October 23, 2017

Merry and Bright Stamp Camp Card #4

My daughter was fascinated with my snow globe shaker card.  I do plan to purchase the foam adhesive strips because I had to make due with the edges of a sheet of dimensionals and I was not satisfied with the height.  This card background involved sponging and use of the whisper white craft pad with daubers.  Fun!
Happy stamping!
Stef

Wednesday, October 11, 2017

Retro Week Fun Filled Card #2

This card is a super easy layout and has just a bit of bling.  I love the new In Colors with this retired Sale-a-bration stamp set.  I had several card packets from another project and I wanted to use up some of the pre-cut supplies so I challenged myself to use up as many of elements prepped as possible.

Happy stamping!
Stef

Wednesday, September 27, 2017

Painted Harvest Cutaway Club Card #2


Hello to you all!  This card was a new fold to me and I found my inspiration here.

Happy stamping!
Stef


Painted Harvest Cutaway Card
Stamps:  Painted Harvest and Dragonfly Dreams

Colors:  Crushed Curry, Emerald Envy, Sahara Sand, and Whisper White

Supplies:  Circle punch (1 ¾” or 2”), Pick a Pattern DSP, ribbon (Emerald or white or Curry), Trimmer, Adhesive, Dimensionals, sponges
·        
            Fold the 4 1/4x11” Sand CS in half with fold on left.  Trim off about 1 ¼” off of the top.
·         Adhere the DSP strip to the 5 ¼ x 3” DSP and then attach the ribbon.  Mount to card front.
·         Use the circle punch to cut out a partial circle on the card front.
·         Use the Curry ink to stamp a flower on the white scrap.
·         Use the Sand ink to stamp the speckles on the top of the inside of the card and also the flower center.
·         Use the Emerald ink to stamp the sentiment first and then the leaves (remember you will have a large flower covering them).
·         Cut out the flower but don’t worry about perfection.  Sponge in Curry over the edges.
·         Sponge the edges of the card in Sand.
·         Adhere the flower with dimensionals.